|
|
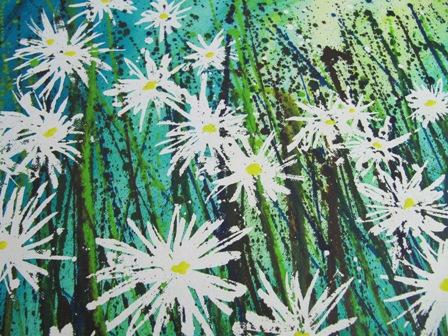
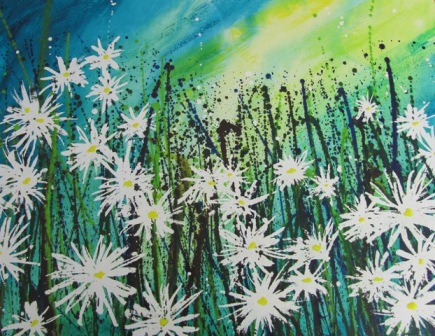
Daisy Painting - a step by step guide
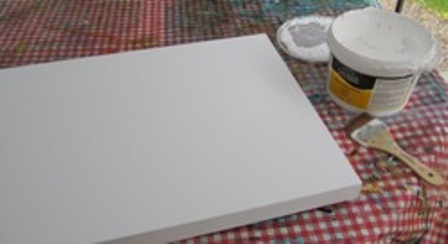
1. To start your Daisy Painting, prepare your canvas with a coat of primer – I use Gesso. Decide if you want no brush marks (apply the primer very smoothly); brush marks in one direction (this could help suggest the direction of the grasses – but may not work so well in the sky areas) or random cross-hatched marks (this could help to suggest texture in the grasses and background). I did random brush marks.
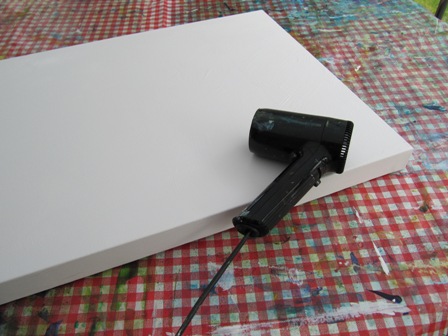
Allow primer to dry. You can use a hair dryer to speed up the process.
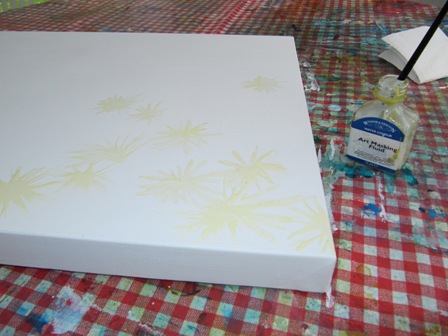
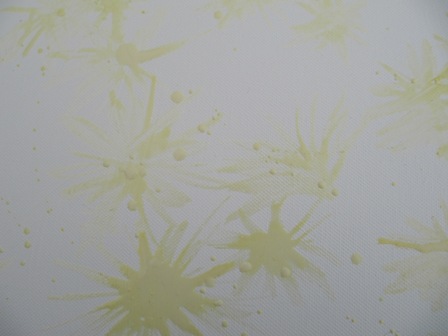
2. Using a good quality masking fluid, paint in the daisy (or any chosen flower) shapes. Remember to put larger ones towards the bottom. I love the effect of white daisies against a vibrant backgound. Put the flower shapes across the whole canvas, overlap some. Towards the top of the canvas the flower shapes should become less. Paint some so they wrap around the edge of the canvas.
3. I also flicked some dots of masking fluid to suggest buds or other small flowers. 4. Allow masking fluid to dry. You can carefully use a hair dryer.
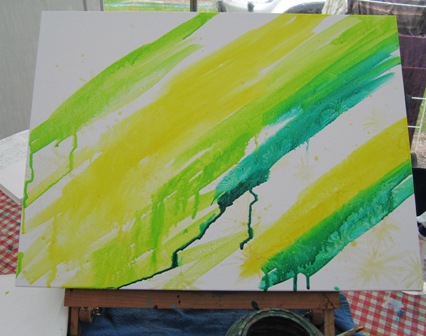
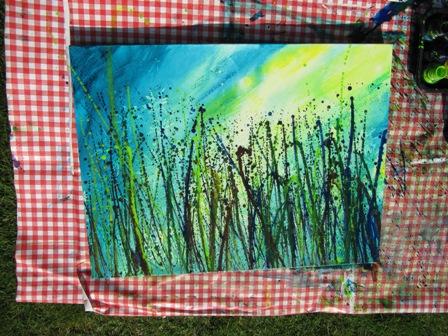
5. Choose a limited range of acrylic colours. For my Daisy Painting, I worked with Daler Rowney fw acrylic inks: Process yellow Light green Dark green Marine blue I know these colours create a fabulous mixture of yellows and greens, lights and darks – that suggest a sunny, summer day. You can easily choose a colour scheme to suit a particular room – your Daisy Painting would work just as well with pinks and purples, or reds, oranges and browns. 6. Put the canvas on a table easel or prop it up. I work with it at an almost upright angle. Make sure the table is well protected and you are in a place that can get messy. Outside is always a good option. 7. Spray the canvas with a light coat of water. 8. Work quickly applying the inks straight from the bottle. Put onto the canvas large bands or areas of colour. Decide where you want your darks and lights.
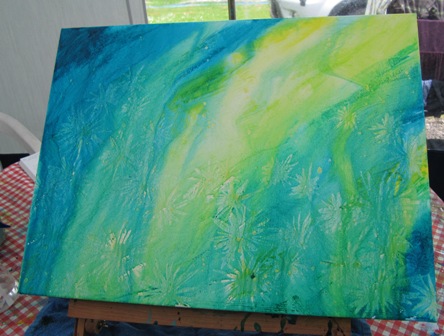
9. Quickly spray with water so the inks start to run. 10. Tip the canvas in whatever direction you want the runs. Once pleased and satisfied, lay it flat so it will stop running. Touch up any areas with smooth brush strokes. 11. Let it dry completely – you can use a hair dryer, but remember if it is very wet this may create more runs.
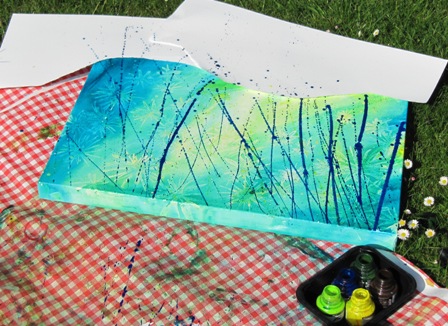
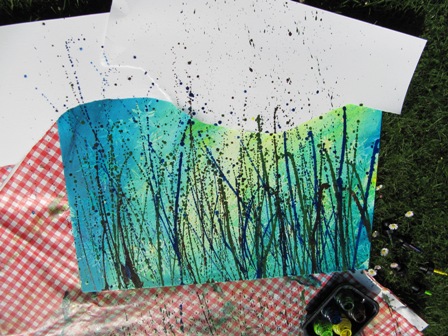
12. In this next step, you are going to flick on paint to suggest grasses. Choose some of the same colours and a few new ones. Make sure you have some real darks, plus some lovely bright shades. I decided to use: Process yellow, Light green, Sap green, Rowney blue, Burnt umber. 13. Mask off part of the top of your painting – you can use torn paper or old rags. Scroll down and have a glance at the finished painting at the end of these steps, so you can see the effect you are aiming to achieve. You need to work somewhere where you can be messy – outdoors once again could be a good option.
Try and create some distinct areas of darks and lights. Do not overwork it.
15. Take away the paper or rags that created the masked areas. If you wish to, do a few extra flicks to suggest a few grasses going higher. 16. Allow to dry completely.
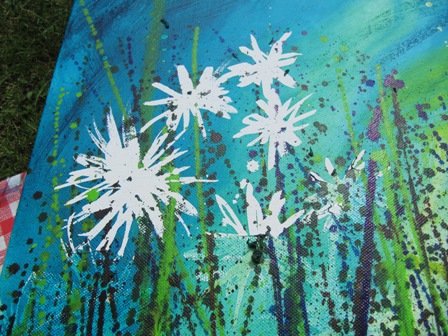
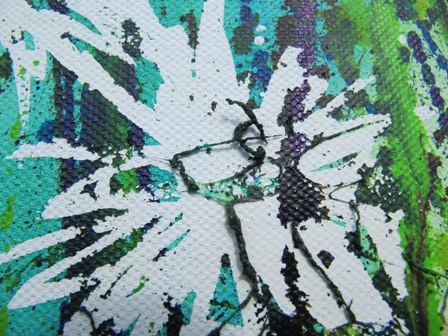
17. Carefully rub the masking fluid off, it should roll and peel quite easily. My tip is to gently feel the surface with the palms of your hands. Also, hold the canvas at different angles – the light will show up ridges of masking fluid.
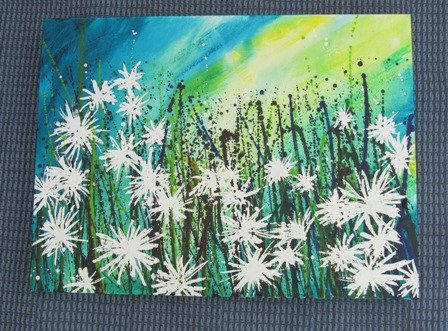
18. Using a bright yellow, add the centre of the daisies. Allow to dry. 19. If you want to – carefully add a few flicks to suggest grasses in the foreground in front of a few daisies. I chose not to do this – as I felt my painting had enough distance too it.
20. Stand your Daisy Painting up – and spend some time carefully looking at it – and decide if it is finished. If there is an area you are unhappy with, carefully add some more paint. Be careful – you cannot get the white back again at this point.
Congratulations - you've finished your Daisy Painting.
Show others what YOU HAVE ACHIEVED!Having followed these step by step instruction ... How does your Daisy Painting look. Don't be shy ... you were brave enough to have a go. Now share your exciting results. What Other Visitors Have SaidClick below to see contributions from other visitors to this page...
Daisies on a Plate! Not rated yet As you leave this Daisy Painting page, why not visit my gallery?
|
